Memories are like secret treasure chests in our minds. They hold all our past adventures, feelings, and experiences. Thinking about these memories helps us grow and understand ourselves better. It’s how we learn from what happened before. We discover what makes us happy, sad, or even scared. This helps us make smart choices in the future and see how our actions affect others. When we reflect on memories, we also build empathy. This means we learn to understand and care about how other people feel. By looking back, we become wiser, kinder, and better friends.
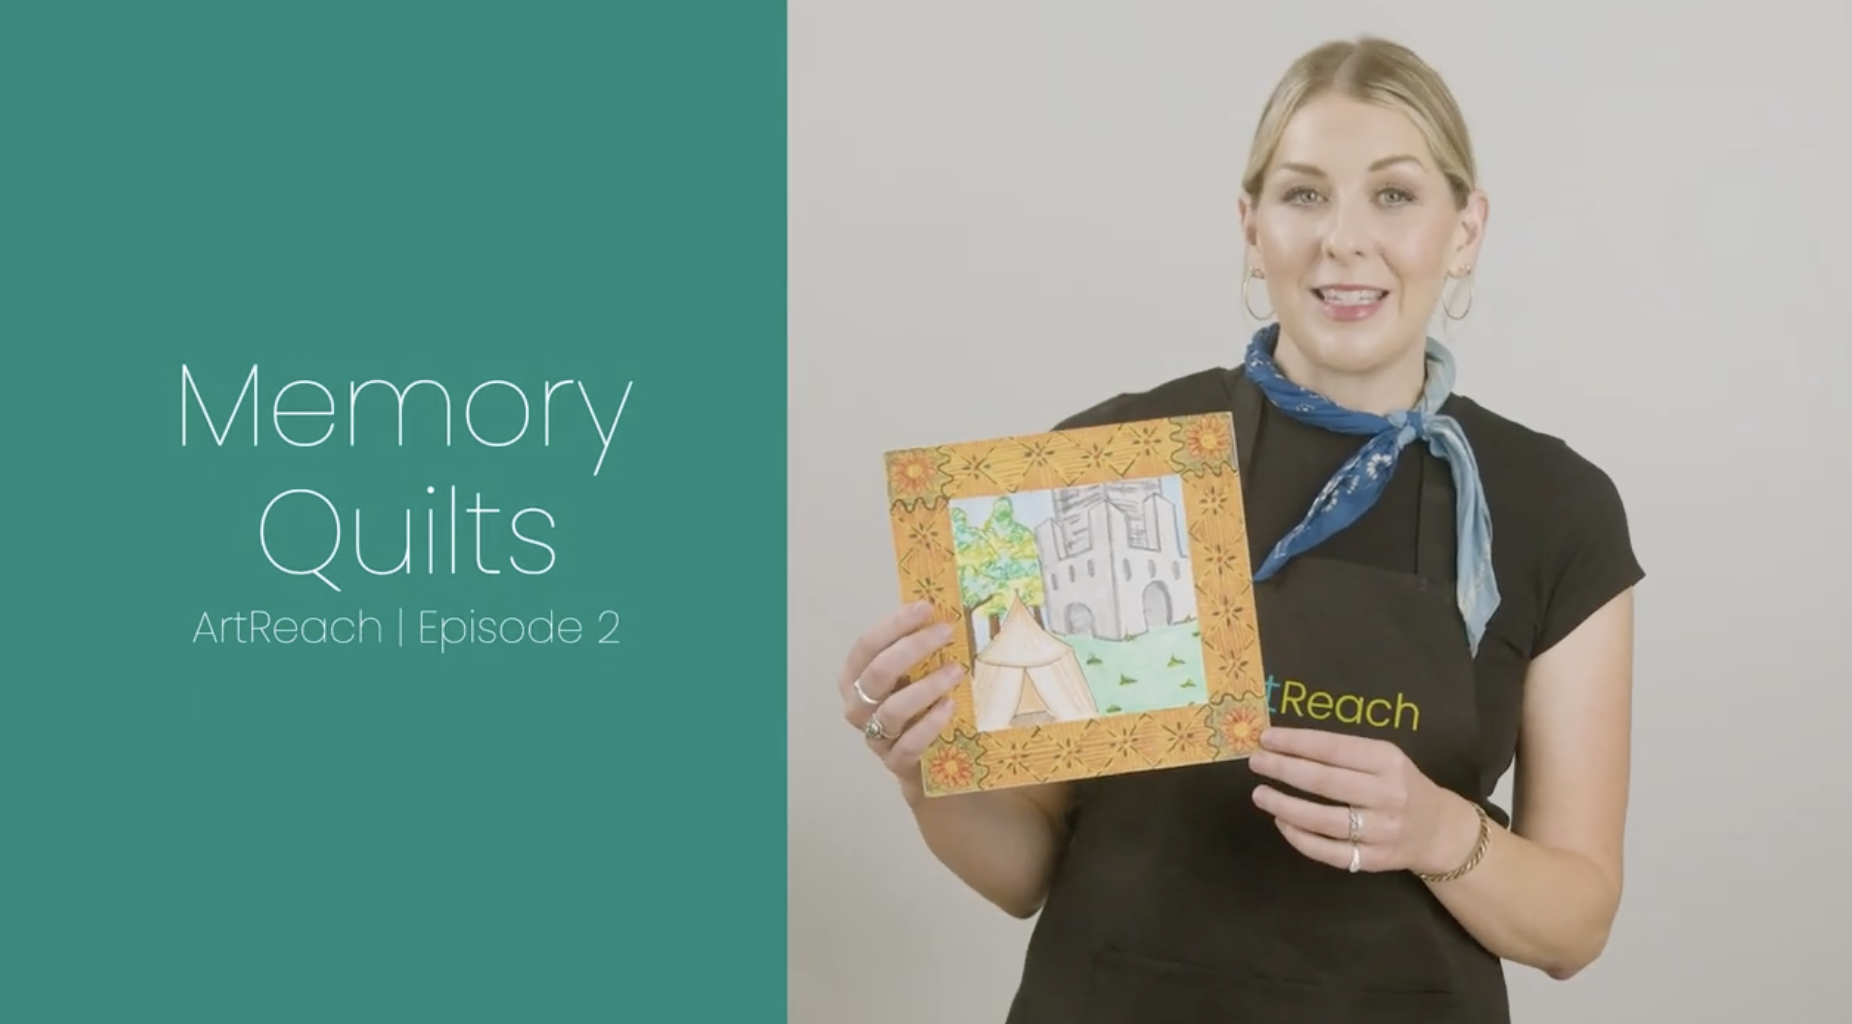
Today, we’ll explore how artists use memories and stories to create beautiful art. We’ll learn how to make a “quilt square” that shows one of your own special memories. This project brings together drawing, pattern making, and the power of storytelling.
Watch this lesson on YouTube >>
Artists Who Inspire Us
Many artists use their experiences and memories to make art. Some even use quilts to tell their stories. Quilts like blankets, hand-made from pieces of fabric. They connect to old traditions of making things by hand. How does something handmade make you feel? Let’s look at some artists who create powerful art from their memories and dreams.
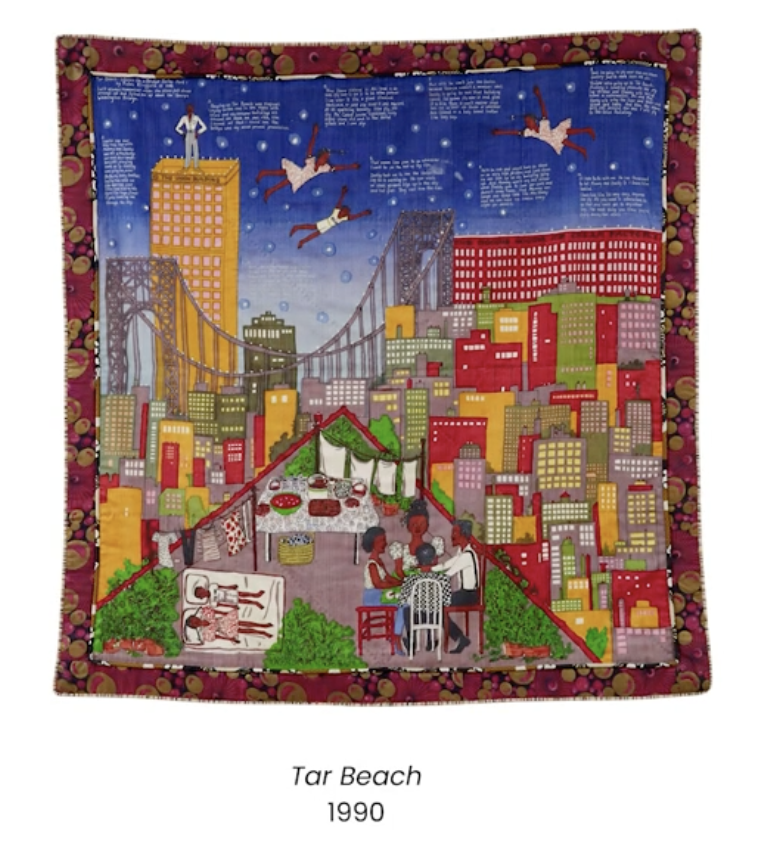
Faith Ringgold: Illustrated Story Quilts
Faith Ringgold was a textile artist. She made illustrated story quilts to share her experiences and memories. One of her pieces, “Groovin’ High,” shows a lively memory of people dancing and celebrating. She used patterned borders to frame the action, much like traditional quilts have borders. Her artwork is full of bright colors and many small details. This makes her stories come alive.
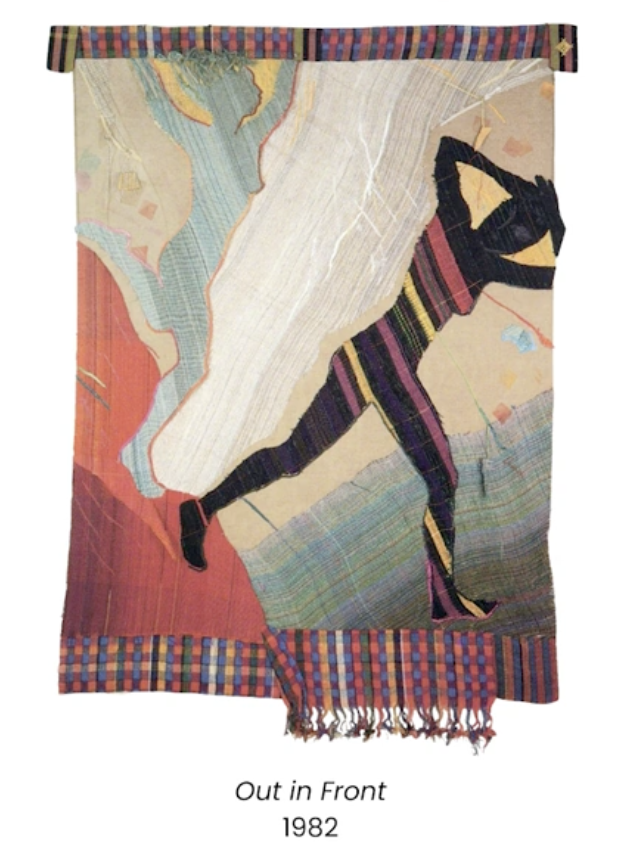
Emma Amos: Dreams and Textiles
Emma Amos also used illustrated story quilts to show her dreams and memories. A textile is another word for cloth or fabric. Textile artists use fabric to create their art. Quilts are a type of textile art. Her piece, “Head First,” was inspired by her dreams. Artists like Amos use their art to tell a story. They want us to think about what is happening in the scene they create.
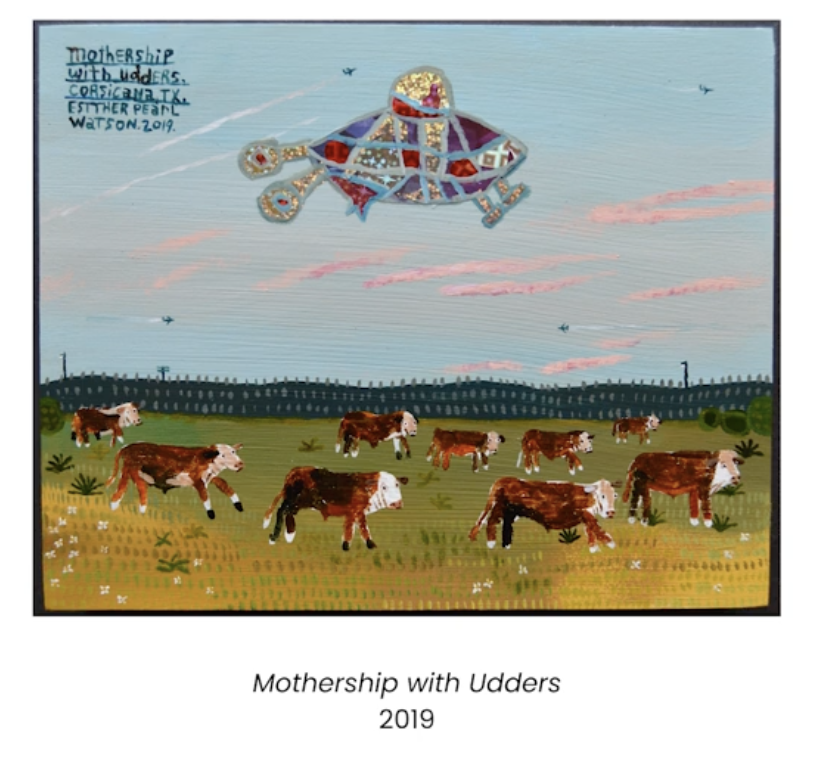
Esther Pearl Watson: Childhood Memories
Esther Pearl Watson is a painter and illustrator. She draws detailed scenes from her childhood memories. Her illustration “Under the Dancing Tree” shows a memory from her youth. Notice how the people in her work are often small compared to large objects, like a big tree. Her art includes many details and patterns in different shapes, making it very interesting. Sometimes, she adds text to her paintings to talk about the story or action. She fills the entire picture with details, making you feel like you are part of the story.
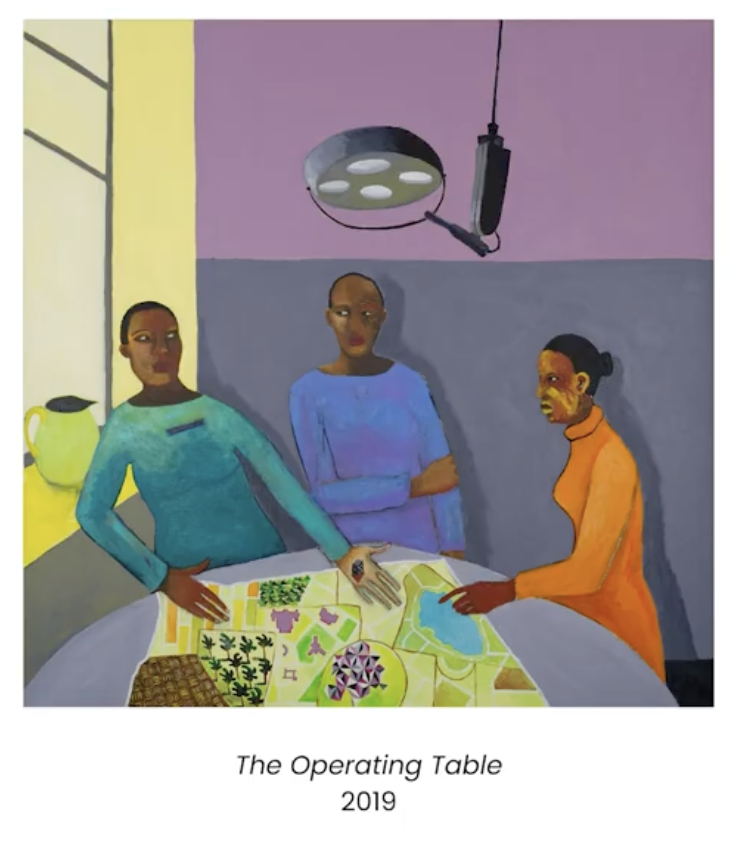
Lubaina Himid: Life Scenes and Movement
Lubaina Himid is a painter who shows scenes from her life through her memories. Her painting “Between the Two, My Heart Is Balanced” features two people traveling by boat. She uses patterns and brush strokes to show movement, like water around the boat. Her painting style is not “perfect.” This reminds us that our memories don’t have to be perfect either. Drawing from memory is more about telling a story and showing a feeling.
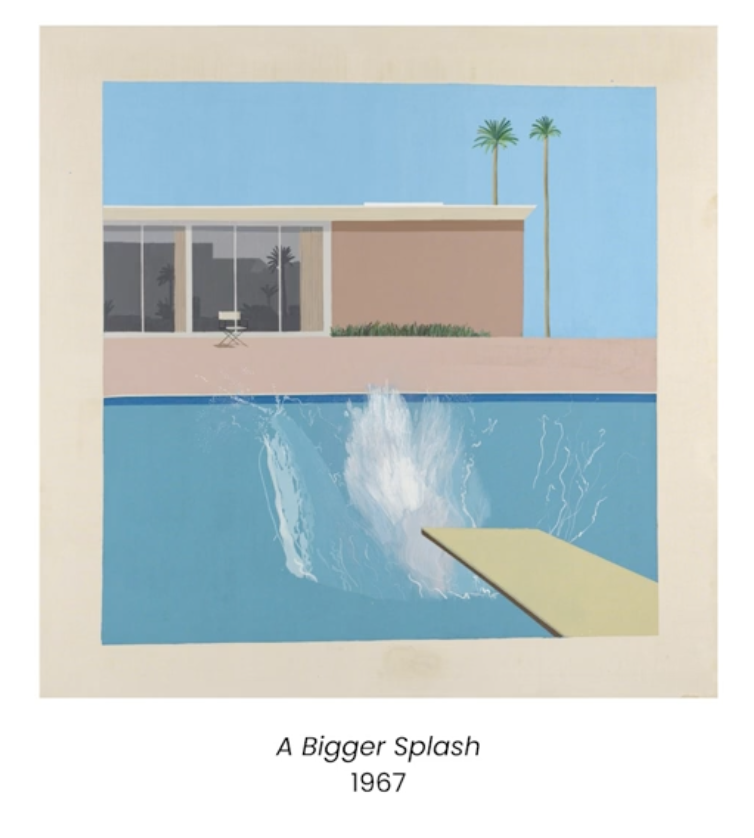
David Hockney: Dreamlike Paintings
David Hockney was a painter and illustrator. He was famous for his dreamlike paintings. He filled his art with details and focused on the emotions in the scene. One of his paintings shows his parents. When you look at it, what mood do you feel? These artists all show us how powerful memories and feelings can be in art.
Gathering Your Art Supplies
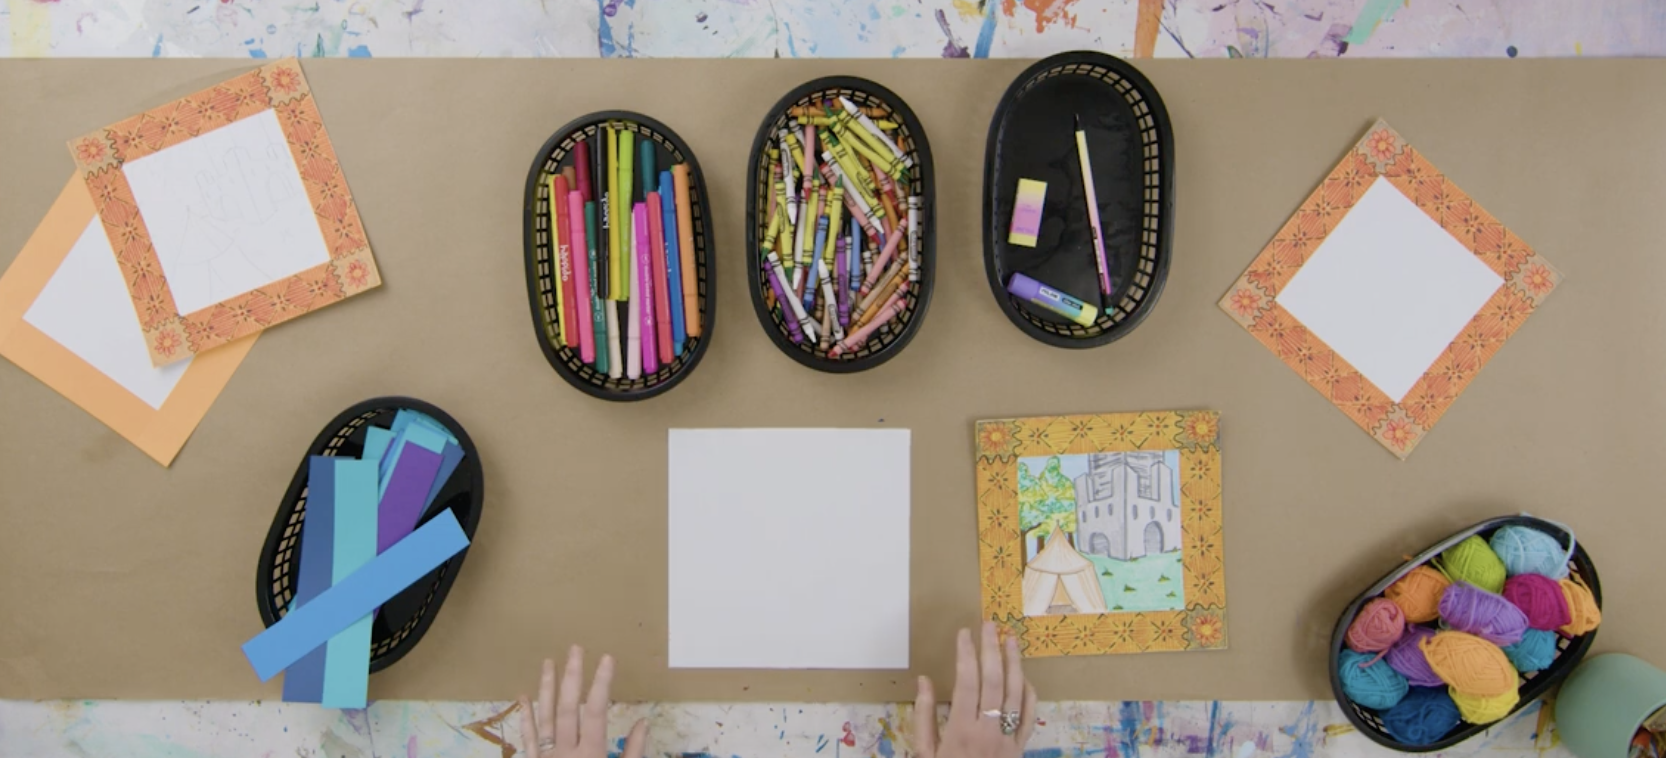
Ready to create your own memory quilt square? This project lets you share a special memory using drawing and pattern making. Here is what you will need for this project:
- A piece of drawing paper cut into a square.
- Paper strips the same length as the sides of your square paper.
- A pencil and an eraser.
- A glue stick.
- Coloring tools such as markers, crayons, or colored pencils.
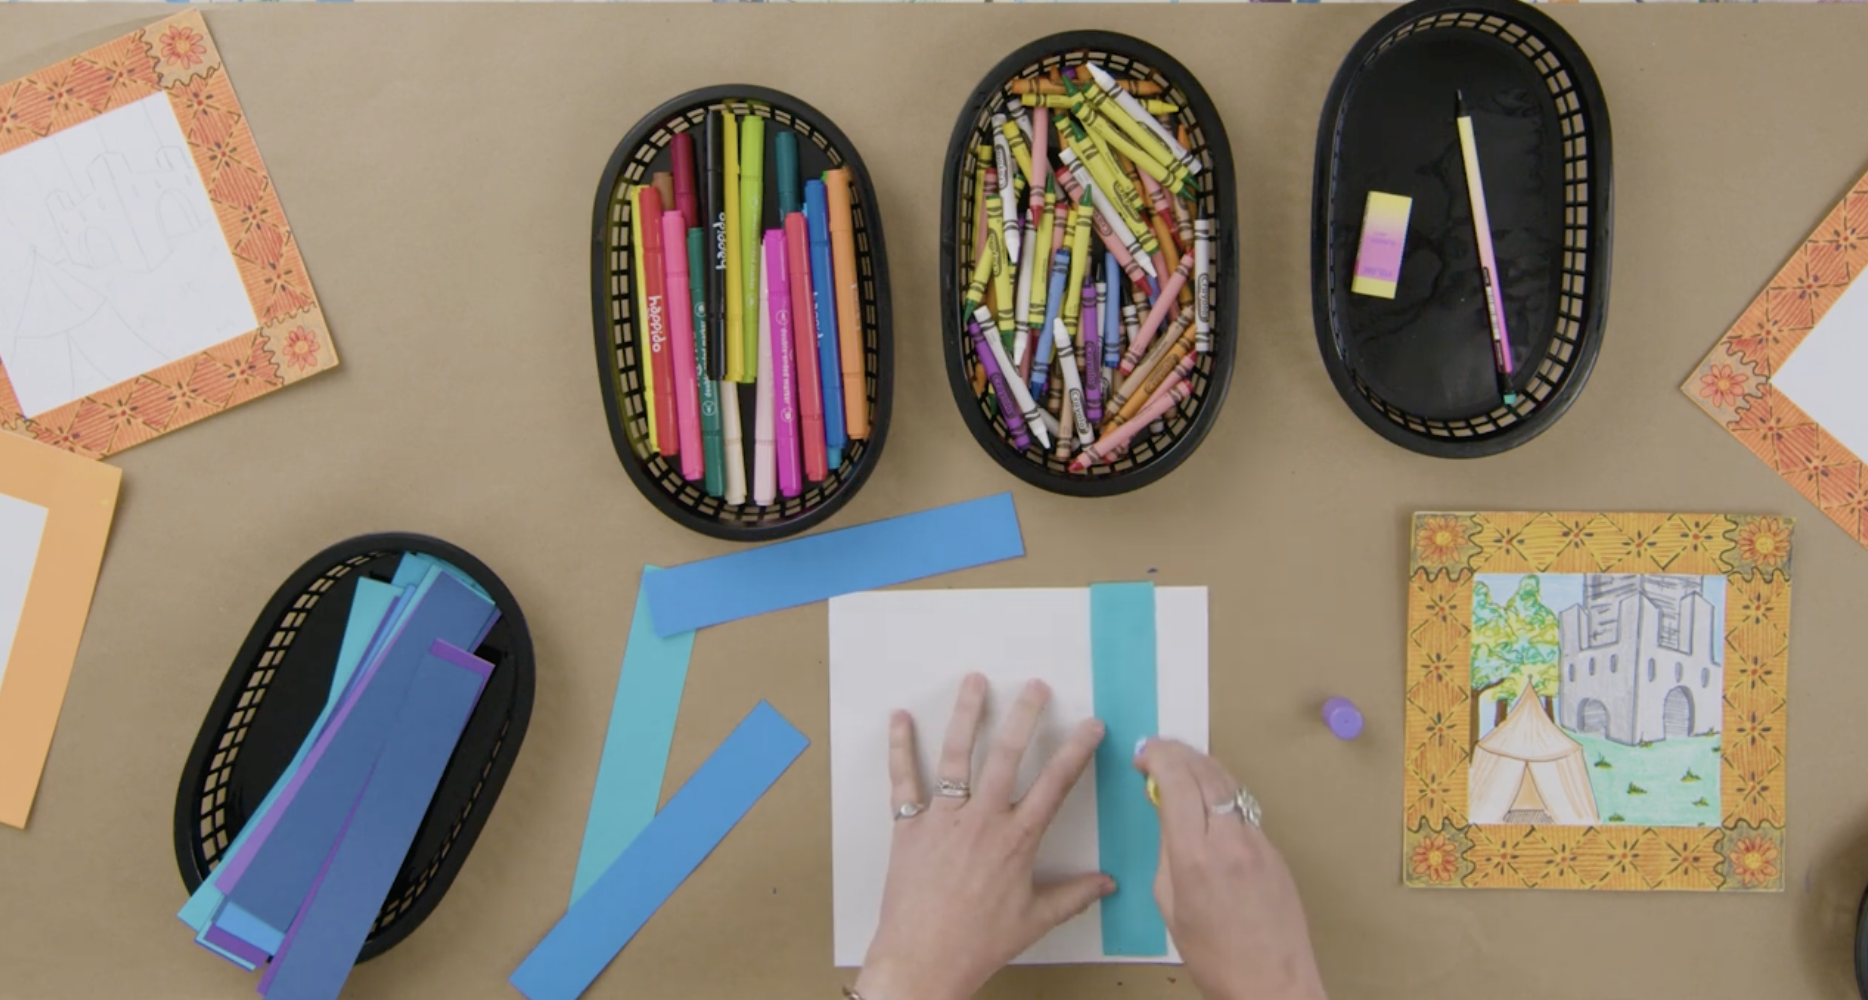
Step 1: Making the Quilt Square Border
First, we will create the border for your quilt square. This border will give your artwork the feeling of a textile quilt.
- Choose your colors: You can use one color for all four strips, or mix two colors (two strips of each), or even use four different colors.
- Glue the strips: Apply glue to your construction paper strips. Make sure to glue along the edges of your square drawing paper. Try to line them up neatly. It’s okay if it’s not perfect; handmade quilts are rarely perfect!
- Add a pattern: Now, add a pattern around the edges of your border. Think about patterns from your memory. For example, if your memory is about a garden, you might use a flower shape. If it’s a beach memory, try clouds or suns.
- A pattern is a mark or shape that is repeated.
- Start with a simple mark, like a sun in each corner.
- Repeat the mark in other spots, like the middle of each side.
- Color in your pattern using crayons or markers. Layering colors can add richness. For example, put orange on top of yellow for a “hotter” sun.
- Add more layers to your pattern. Maybe draw a wave shape, or little “V” shapes for birds. The more marks you add, the more interesting your pattern will look.
- Consider adding subtle details, like white scribbly marks for clouds. These details make people look closer at your art.
Take your time to finish your border. You can pause and work on it until you are happy with your design.
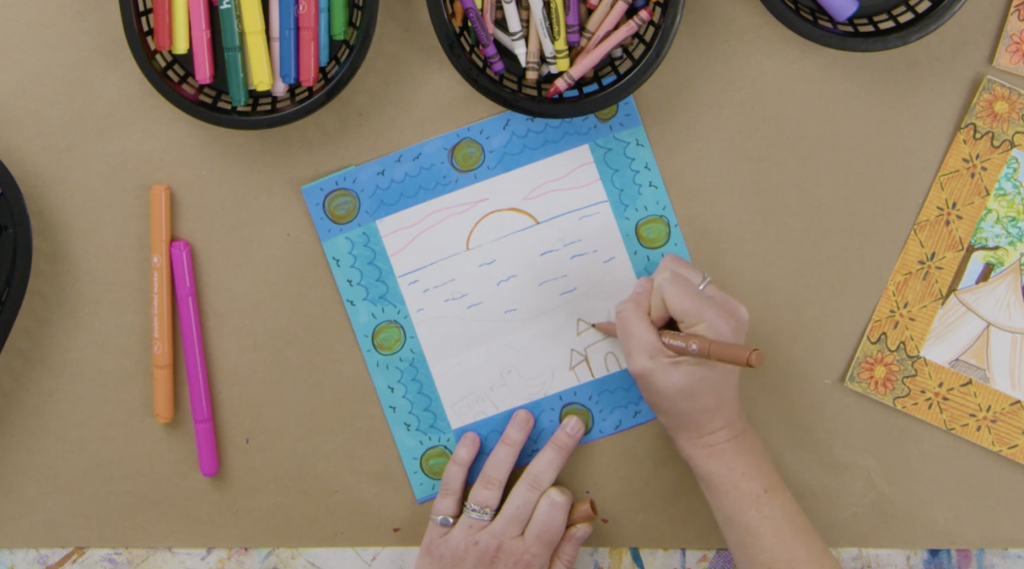
Step 2: Illustrating Your Memory
Now it’s time to draw your special memory in the center of your quilt square. This is where you tell your story.
- Close your eyes and remember: Think about your chosen memory. What did it feel like? Who was with you? What time of day was it? What was the weather like? Were there any specific smells or sounds? What was happening in the background? The more details you remember, the better you can tell your story through your drawing.
- Draw lightly first: Use your pencil to draw your memory. A good tip is to “draw light until you know it’s right.” Everyone makes mistakes, and drawing lightly makes it easy to erase and fix things.
- Focus on feeling: Your drawing doesn’t have to be perfect. Focus on showing the feeling of your memory.
- Fill the space with details: Think about what else you can add to your scene. Artists like Faith Ringgold and Esther Pearl Watson filled their artwork with many details to make it engaging. For example, if you’re drawing a beach, add waves, dolphins, a sandcastle, or even a seagull trying to steal chips!
- Consider the scene:
- Start with big parts, like the horizon line for the ocean or the wavy line where water meets sand.
- Add key elements, like the sun setting, clouds, or specific objects from your memory.
- Think about perspective. How big are the people compared to other things?
- Remember, your drawing is like taking a picture of your memory. Parts might even be cut off by your border, which is fine.
Take your time to finish your drawing. Add as many details as you can to tell your story.
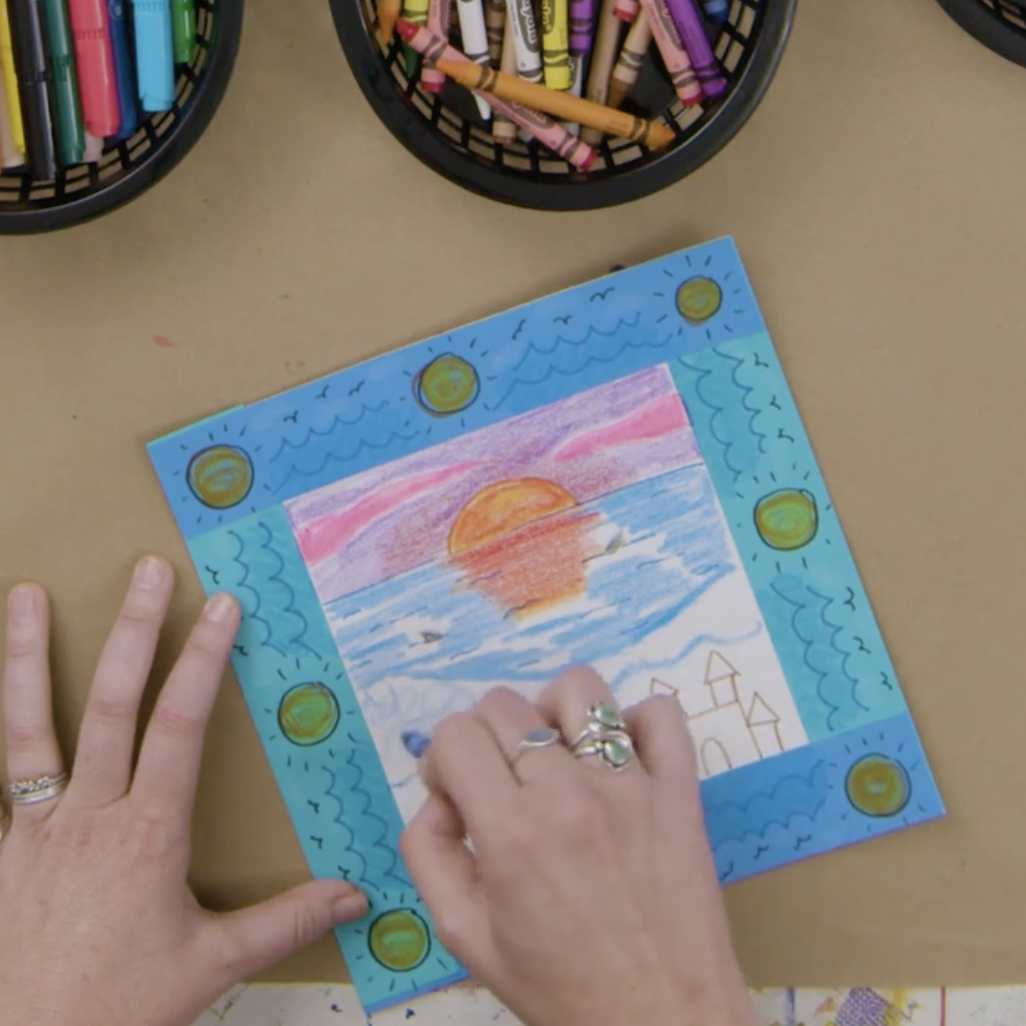
Step 3: Coloring Your Illustration
Coloring brings your memory to life. You can use different techniques to make your drawing stand out.
- Outline with marker: Once you are happy with your drawing, use a marker to outline the main parts of your illustration. This gives your drawing crisp lines and makes it ready for color. You can add extra texture with marker outlines, like more lines for water.
- Combine markers and crayons: Using both markers and crayons adds texture and depth to your art. It gives you more options for colors and details.
- For example, you can color in areas with crayon after outlining them with marker.
- Layer crayons: If you don’t have the exact color you want, try layering different crayon colors. For instance, color lightly with red and then add a pink marker on top for sunset clouds.
- Vary pressure: Push harder with crayons for darker, richer colors, and lighter for softer shades.
- Show reflections: If you have a sunset, add red and orange crayon to the water to show the sun reflecting.
- Leave white spaces: Leaving small white spaces in water can make it look shiny.
- Create foam: For ocean waves, instead of coloring it all in, make a pattern of dots or scribbles for sea foam.
- Blend colors: Lightly color one crayon over another to create a new, interesting shade.
- Add final touches: As you color, you might get new ideas for details. For example, you might add a red dot to a seagull’s beak or outline an object more clearly if it starts to disappear into the background. These are choices you make as an artist.
Keep coloring until your illustration feels complete. Don’t rush this part. The more you explore with your materials, the more vibrant your artwork will be.
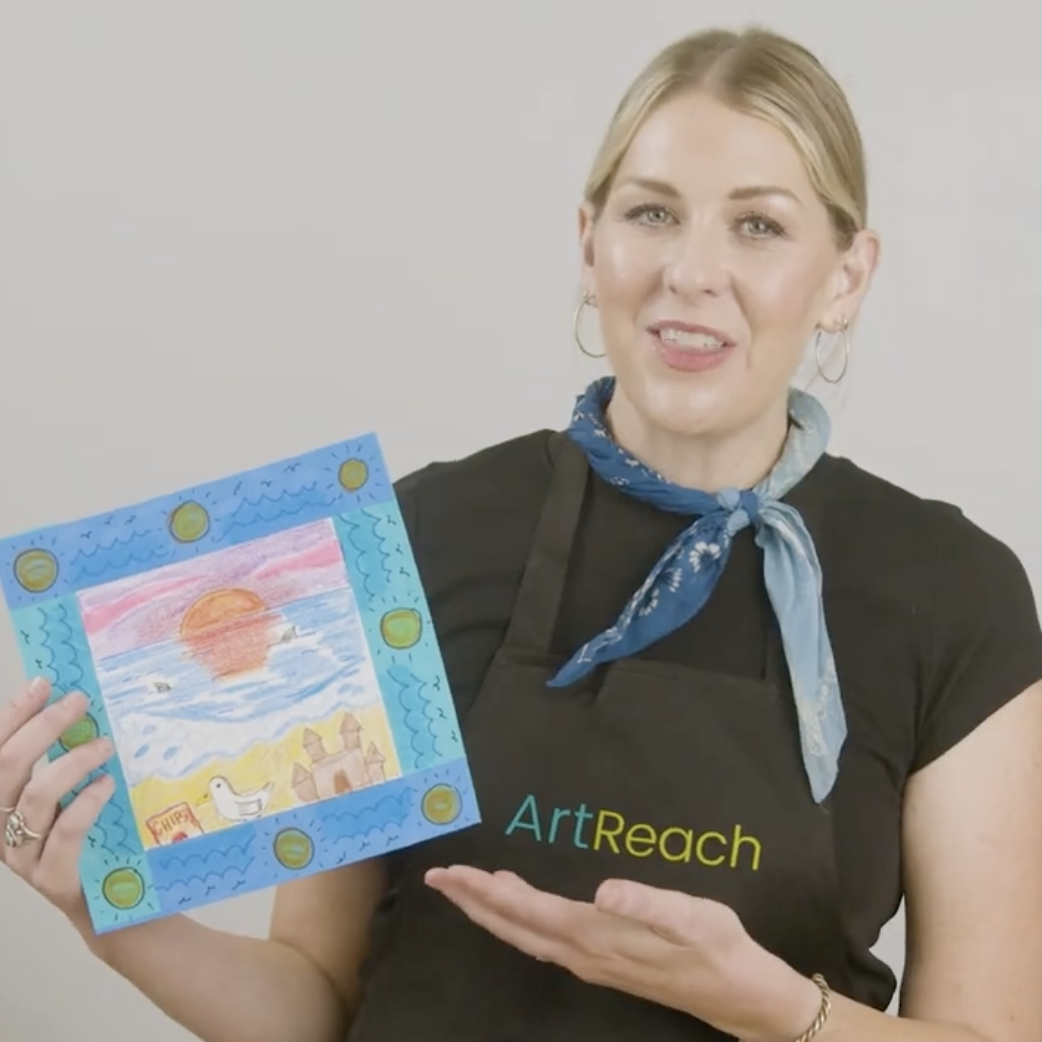
Sharing Your Memory
Once your quilt square is finished, share it with someone. Tell them about the memory you chose to illustrate. Talk about the mood of your memory and how you showed that in your artwork. Perhaps you can even join your quilt square with others to create a larger, collaborative memory quilt.
We hope this project inspires you to keep creating art and exploring your own unique stories! If you’d like to dive deeper into art education resources for this project, you can find additional project resources here.
We would love to see your amazing artwork! Share your creations on social media by tagging us at @ArtreachSD. We look forward to seeing what you make!
You May Also Like: